

Prepare your project
Just some test are required to achieved your archive !
- Verify the render settings
- Save your scene
- Choose the archive creation destination
- Click on “Create Archive”
- Click on “Submit” to upload the .vua archive (with RANCHSync)
User Interface
1- Settings Tab
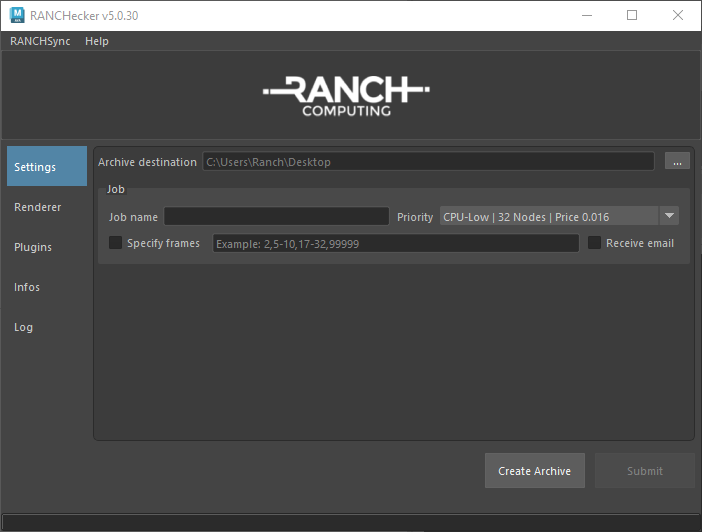
Archive Destination
- By default, the archive is created on the desktop. If you wish to change this destination, you can click on the 3 dots button of “Archive Destination” to define the new location.
Job Name
- By default, the archive is created with the scene name. If you want to change it, you can use the “job name” field to change this name. It will renamed both the VUA and the scene name inside the archive.
Priority
- “Priority” parameter can be seen only for users connected to RANCHSync. For more information, please refer to : Priority Choice.
Specify frames
- By default the rendered frames are those specified in the render settings.
- “Specify Frames” parameters is an optional setting that let you choose frames differents from the frame range in the render settings of your scene. It will only be visible when RANCHSync is connected.
example: 1,10,20-22 will render the 5 following frames → 1,10,20,21 et 22
Warning, you must be connected with RANCHSync for this parameter to work, and it is not possible to modify its value after the archive creation.
Receive email
“Receive email” parameter give you the possibility to choose whether or not you want to receive the projects-related emails.
2- Plugins and renderers supported by the RANCH
- In those 2 tabs (Plugins & Renderer), you will see in real-time all the plugins and rendererd supported with your software version and the versions ID.
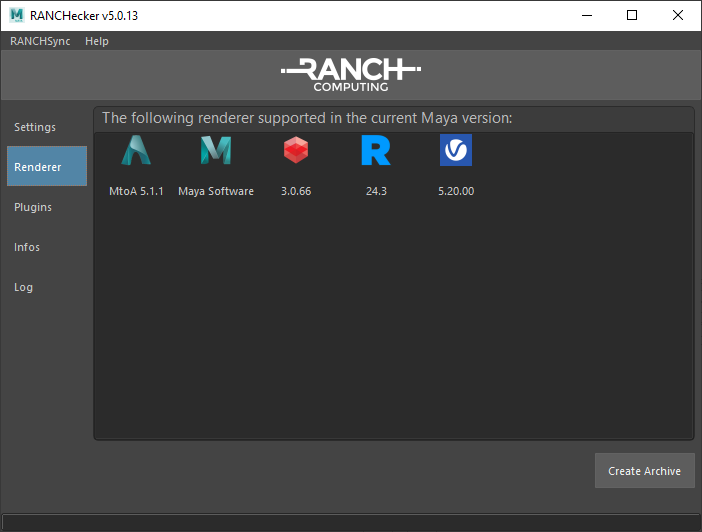
non-contractuals versions
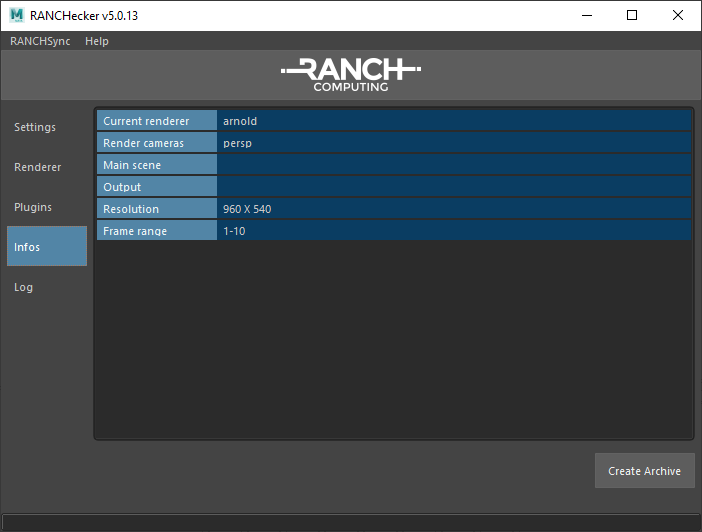
3- Information Tab
- General information must be verify by users before creating the project archive.